Anyway, I grabbed the cheapest available mast that looked as close as my original one on eBay for $11, it was designed for 94-98 Saab 900 if you are curious.
My first problem was that the old mast broke inside, and I couldn't get it out, so I just cut the aluminum tube of the power antenna in half with a saw. I got all the junk out the tube and inserted the short piece of tube from my new mast, it fit perfectly:


I then used a piece of sandpaper and the existing clamp that's holding wire harness to put pieces of the aluminum tube back together (Hint: draw a straight line along the tube with a black marker before you cut it, otherwise you'll need to spend some time aligning it when you put it back into your car):


 |
| Note: teeth aren't cut yet on this picture, this was a test install |
I had to affix the bump to the end of the wire and install it into the big wheel several times while adjusting the length (you need to make a hole at the end of the wire to insert that metal piece):


Your antenna motor now disconnects after fully retracting. At this point we need to make it stop after it fully extends. Unfortunately, when I fully extended my antenna, there was still contact with the metal on the ring, meaning that the motor will keep trying to pull the antenna up, eventually breaking the wire or failing. So I had to cut a piece of the ring to make the motor stop. I cut it such that the contact plate slides off the ring with the last turn before being fully extended. That means that my antenna will never be fully extended, but that's just about one inch so I don't care.


Now you can bench-test your antenna with a drill battery or in your car. Black wire connects to negative battery terminal (Ground). Yellow/red wire should be constantly connected to positive terminal. With such a connection, antenna fully retracts and stops. If you, in addition, connect green wire to positive terminal, antenna will fully extend and then stop (power is supplied to this wire when you turn your radio on).


Here is the video of my tests:
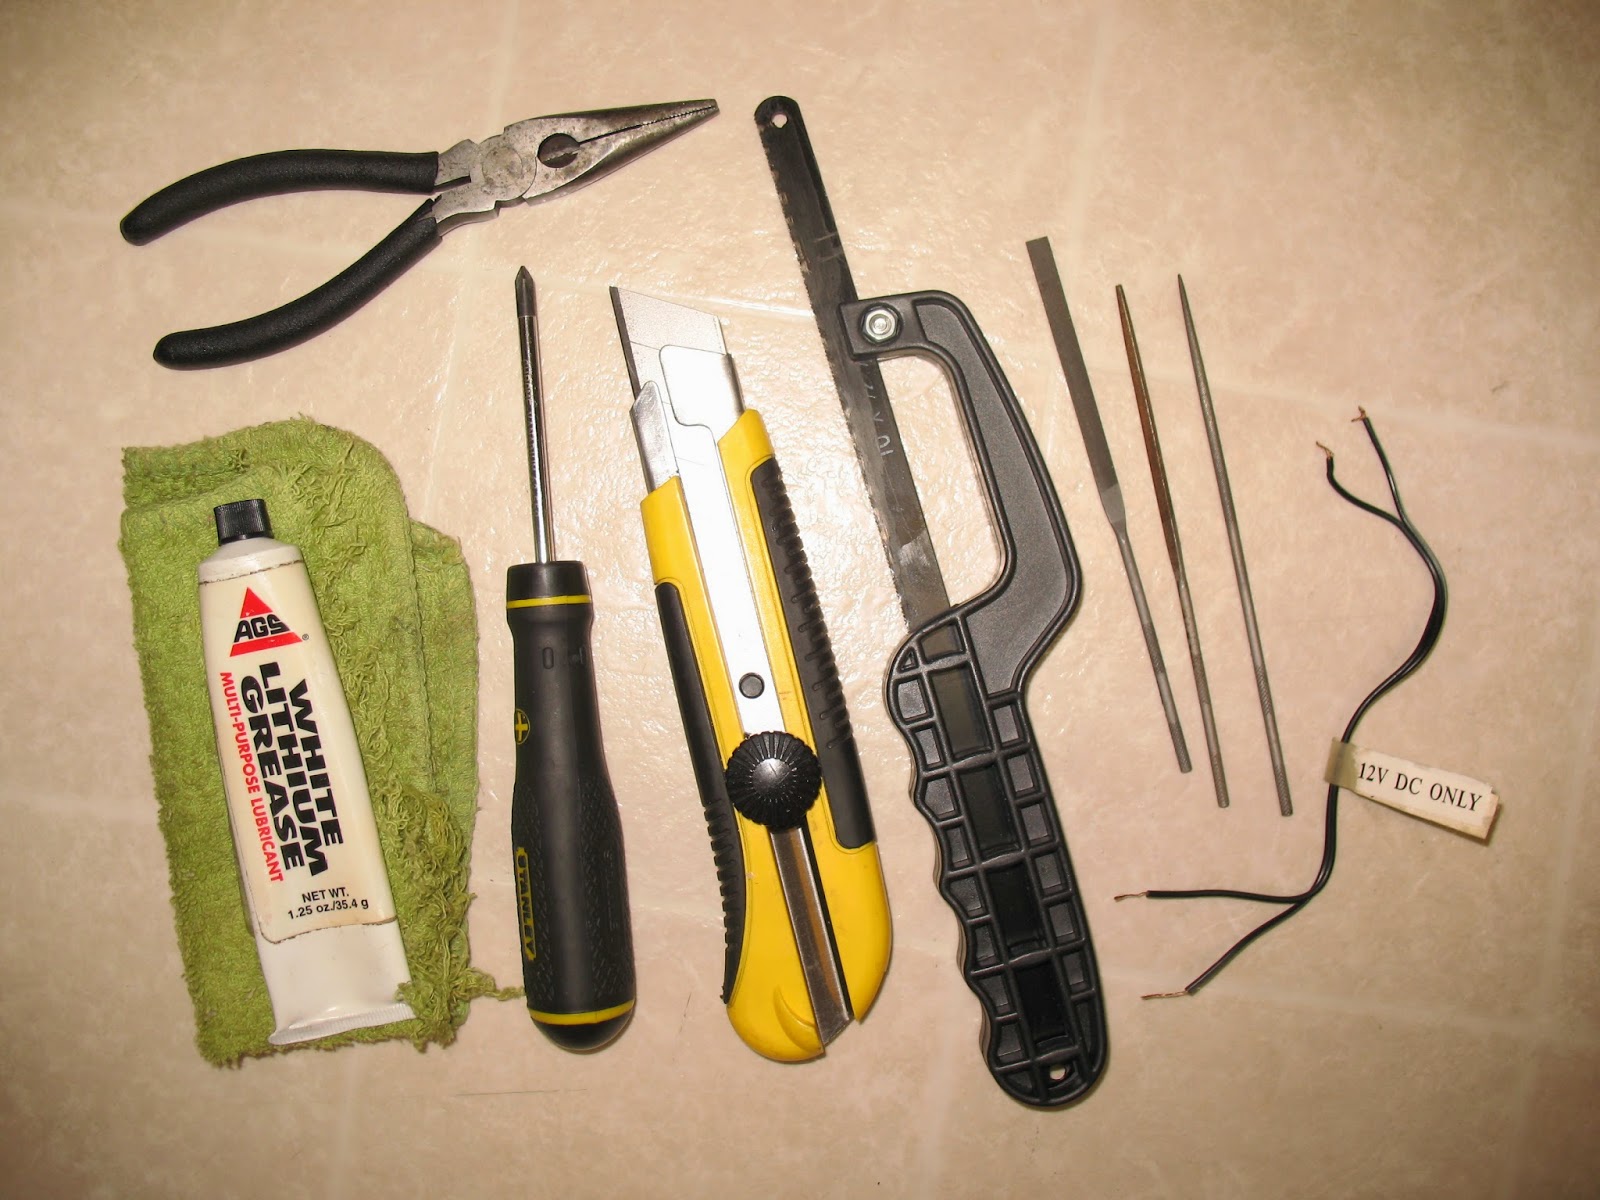
Aside from a piece of sandpaper, a drill battery, and an awl to make that hole in the wire, I used the following tools:

Hope that helped, and if you have any questions, feel free to ask.